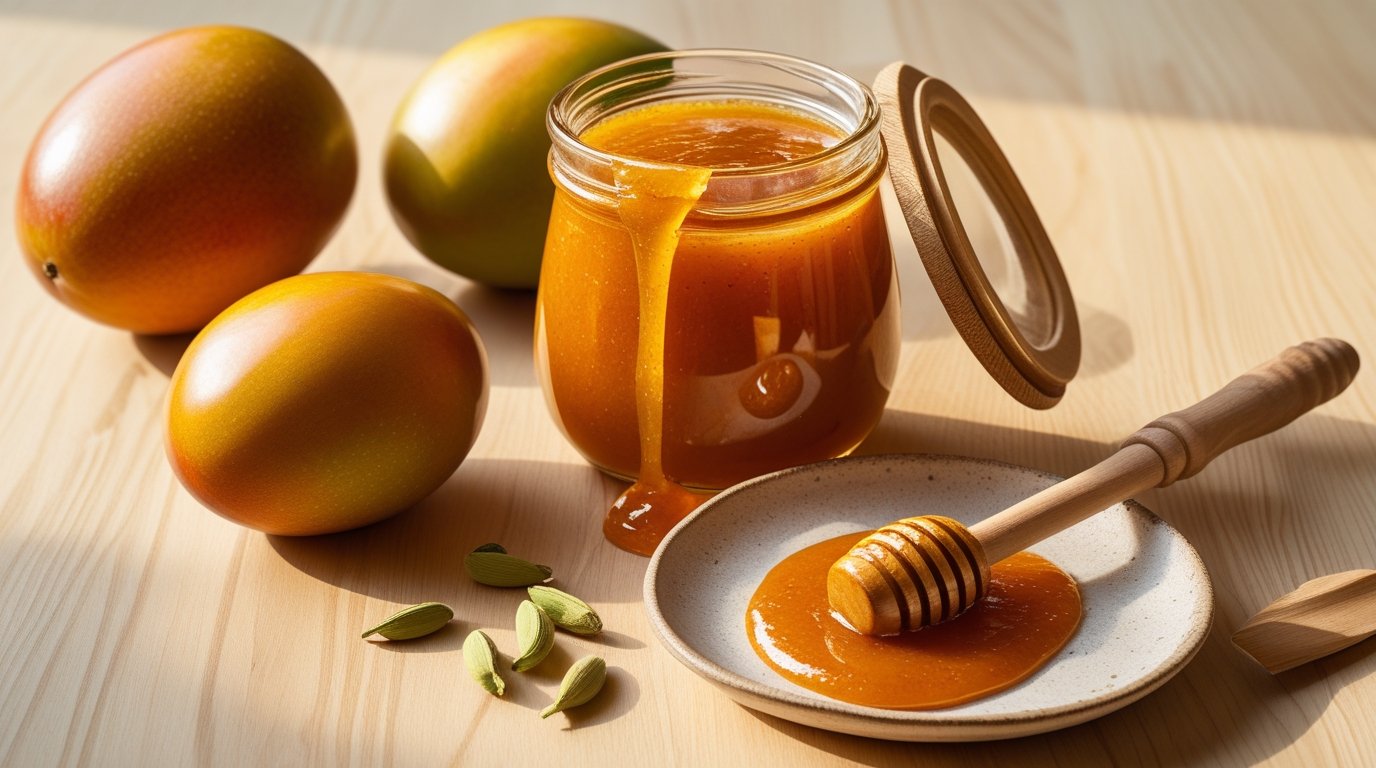
There is something quietly triumphant about a jar of homemade mango jam sitting on your kitchen shelf — a summer captured, the fragrance of ripe Alphonso mangoes pressed and preserved into a golden-orange spread that will carry the taste of the season through the months ahead. Unlike commercial mango jams — padded with artificial flavoring, thickened with synthetic pectin, and colored to look more vivid than the actual fruit — homemade mango jam is made from just three real ingredients: ripe mango, sugar, and lemon juice. It requires no preservatives, no additives, no specialist equipment, and no jam-making experience. What it does require is a handful of ripe, fragrant mangoes — and the more flavorful the mango, the more extraordinary the jam.
Why Alphonso Mangoes Make the Best Jam
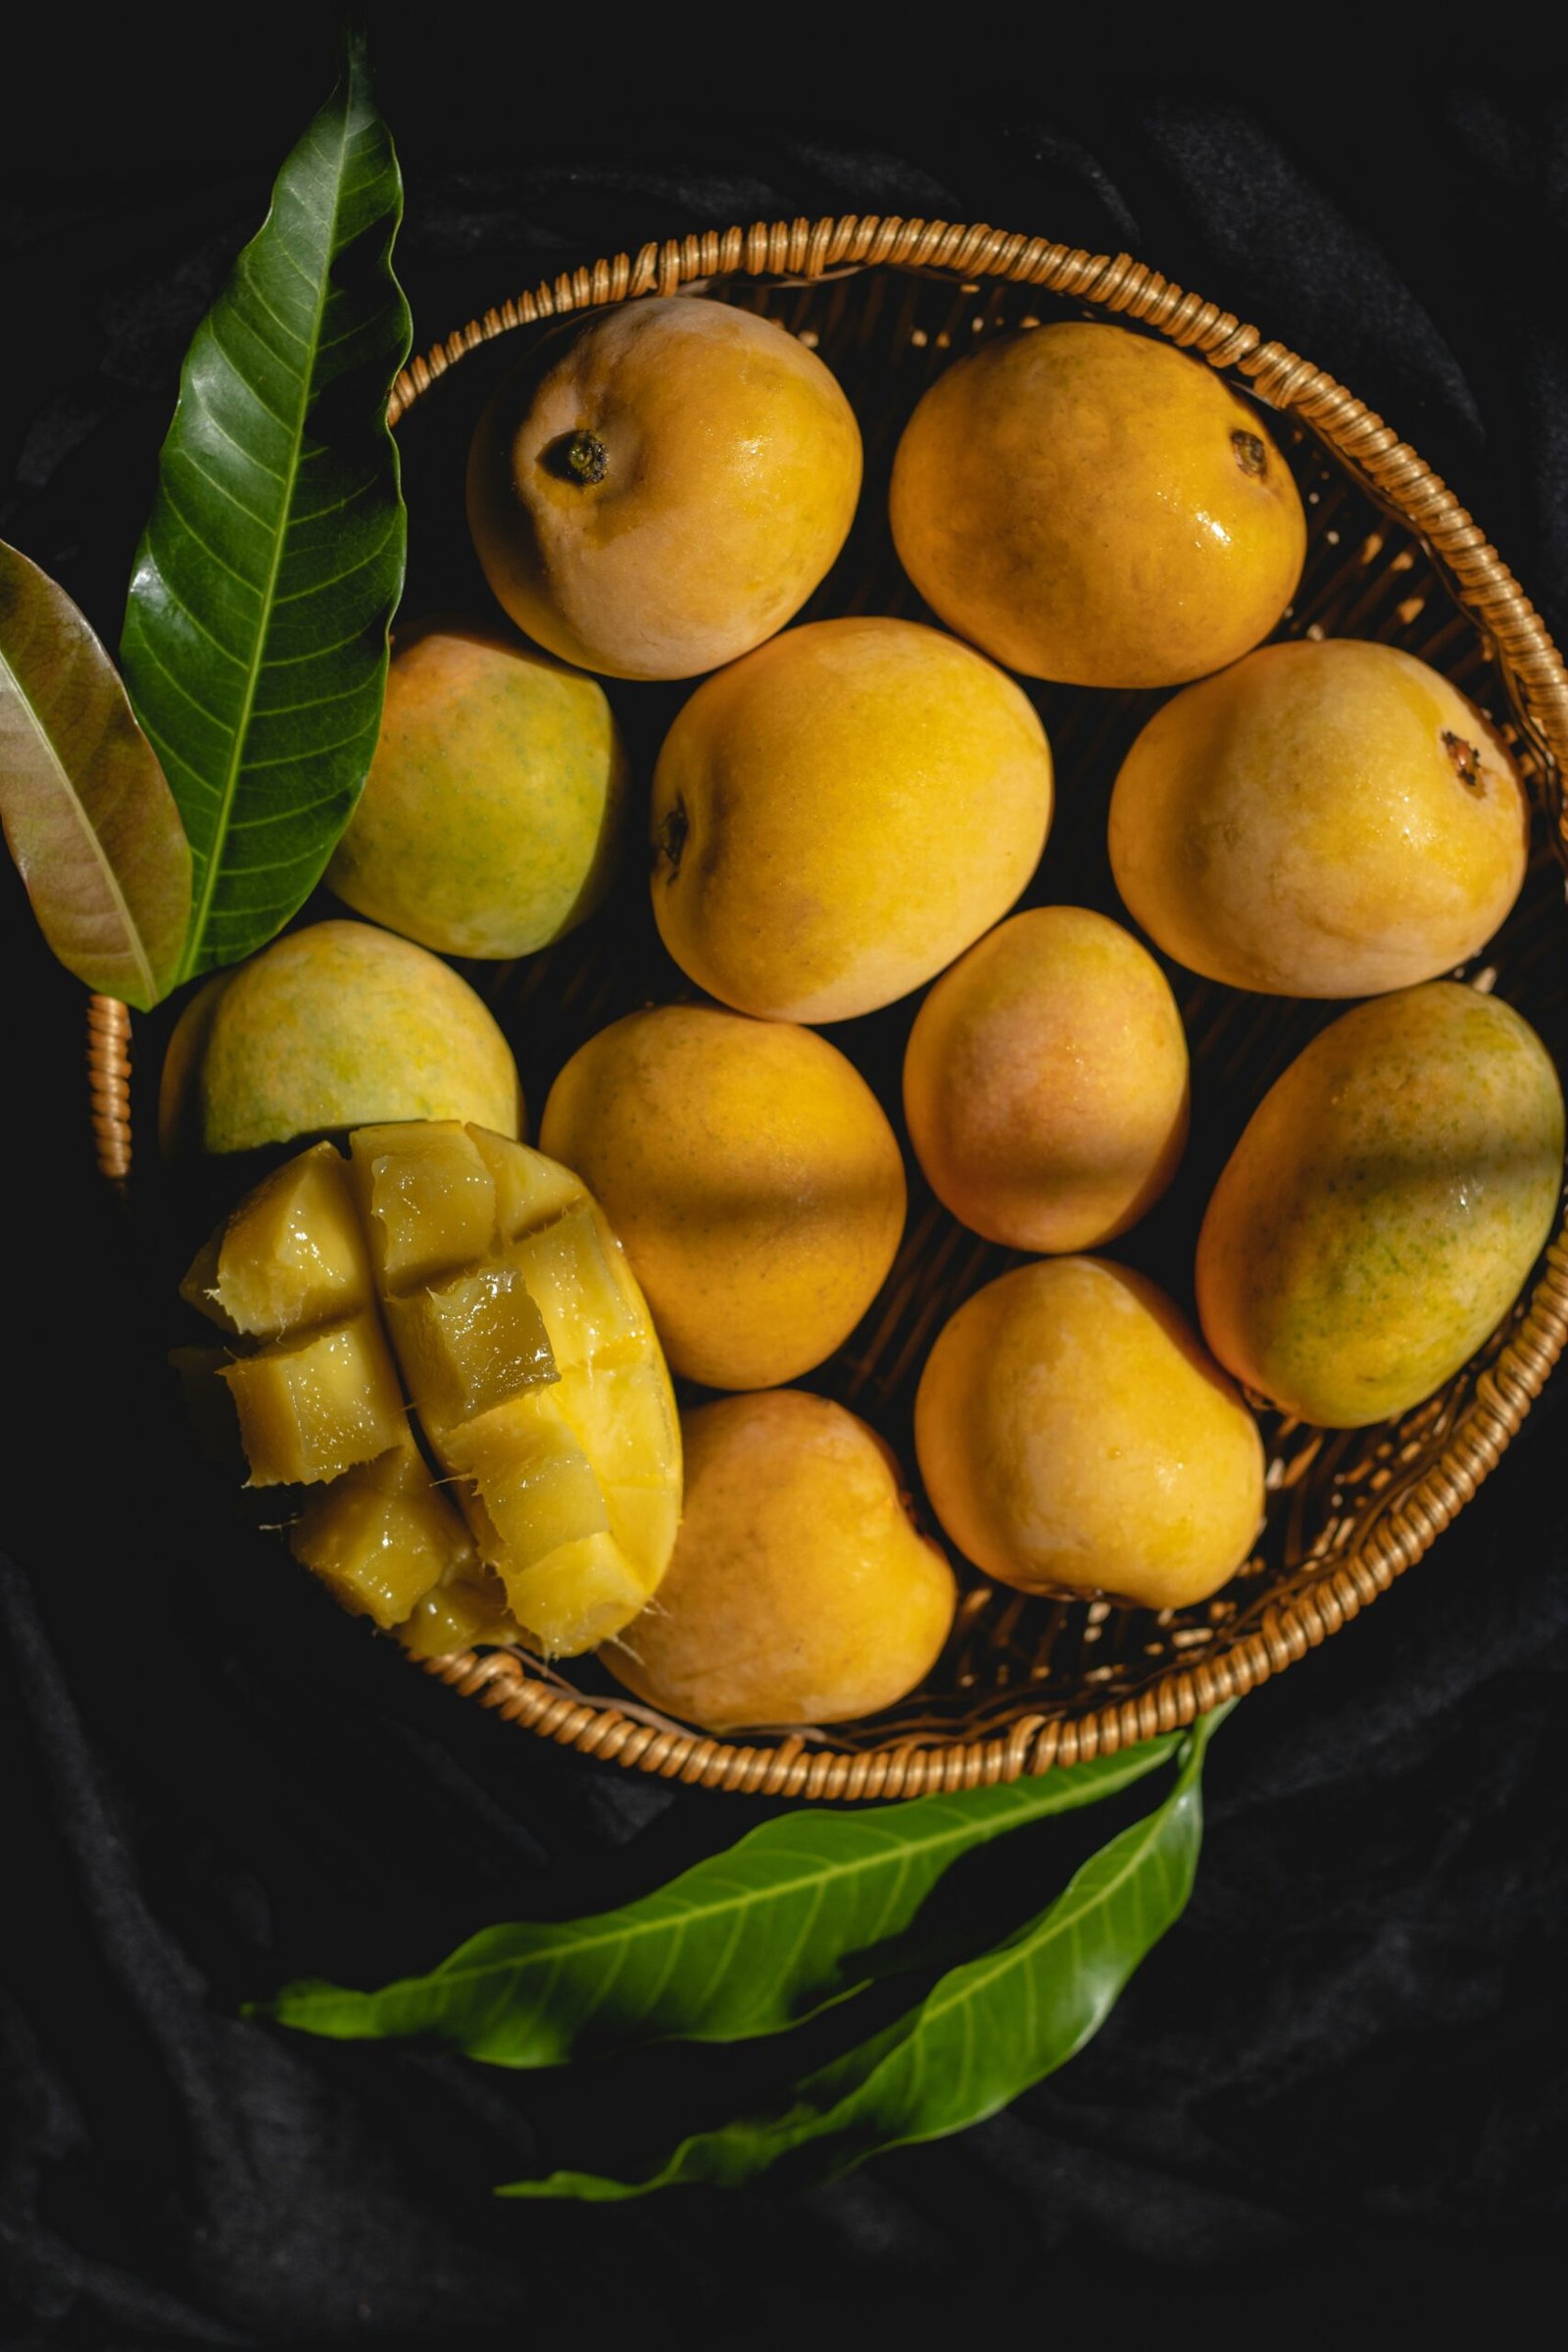
Any variety of sweet, ripe mango can produce a good jam — but the Alphonso makes an extraordinary one. The Alphonso’s pulp is completely fiber-free, intensely aromatic, and naturally high in sugar, producing a jam with a depth of flavor and a golden-orange color that no other variety quite matches. The natural sweetness of a ripe Alphonso means you need significantly less added sugar than other mango varieties — maintaining a cleaner, truer mango flavor rather than a sugar-forward preserve.
The Alphonso’s low fiber content is also essential for texture. Fibrous mango varieties produce jams with a stringy, uneven consistency that requires additional straining. Alphonso pulp breaks down smoothly and evenly during cooking, producing the silky, spreadable texture that distinguishes a premium homemade mango jam from an average one. If Alphonso is not available, use any ripe, sweet, low-fiber variety — Kesar, Ratna, or Sindhu are all excellent alternatives.
Ingredients
(Makes approximately 350–400 grams of jam)
- 750 grams ripe Alphonso mangoes (approximately 4 medium or 6–7 small mangoes)
- 200 grams sugar (adjust based on mango sweetness — reduce to 150g for very ripe, very sweet Alphonso)
- 1 tablespoon fresh lemon juice
- A pinch of salt (enhances and rounds the flavor)
- Optional: ¼ teaspoon cardamom powder for a Konkan-spiced version
Equipment You Need
- A heavy-bottom non-stick or stainless steel pan — wide base preferred for faster reduction
- A wooden or silicone spatula for continuous stirring
- A small ceramic plate, chilled in the freezer — for the wrinkle/set test
- Sterilized glass jars with airtight lids
Step-by-Step Method
Step 1: Prepare the Mangoes
Wash the mangoes thoroughly and wipe completely dry. Peel and cut the flesh away from the seed, discarding the skin and seed entirely. Chop the flesh into rough chunks — precision is unnecessary since the fruit will break down completely during cooking. If using Alphonso, the pulp can also be pressed directly from ripe, softened fruit by squeezing — producing a naturally smooth pulp without the need for chopping.
Weigh your prepared pulp — you should have approximately 500–550 grams of clean pulp from 750 grams of whole mangoes. This weight determines your sugar quantity: maintain a 3:1 ratio of fruit pulp to sugar as your baseline, then reduce sugar to taste based on the sweetness of your specific mangoes.
Step 2: Combine and Begin Cooking
Place the mango pulp, sugar, salt, and lemon juice together in a wide, heavy-bottom pan. Mix thoroughly and place over medium heat. Stir continuously as the sugar begins to dissolve — within 3 to 4 minutes, the mixture will liquefy and begin to bubble gently. Do not increase the heat at this stage. The lemon juice serves two critical functions: it provides natural acidity that activates the mango’s low pectin content, helping the jam set, and it acts as a natural preservative that extends shelf life.
Step 3: Cook and Reduce
Continue cooking on medium heat, stirring frequently to prevent the sugar-rich mixture from catching on the pan base. After 8 to 10 minutes, the mixture will transition from a loose liquid to a thicker, more glossy consistency — the surface will begin to show larger, slower bubbles rather than the rapid small bubbles of early cooking. At this point, use a wooden spoon or potato masher to break down any remaining mango chunks, pressing them against the side of the pan into a smooth, even texture.
Total cooking time is typically 15 to 20 minutes from the point the mixture reaches a full boil — but cooking time varies significantly based on the water content of your specific mangoes and the width of your pan. A wider pan evaporates moisture faster, reducing cooking time; a narrow deep pan will take longer to reach the same consistency.
Step 4: The Set Test — How to Know When It’s Ready
The most reliable way to test whether your jam has set correctly is the wrinkle test. Take the chilled ceramic plate from your freezer and drop a small teaspoon of hot jam onto its surface. Wait 30 seconds, then push the jam with your fingertip. If it wrinkles and holds its shape without flowing back, the jam has set. If it runs back into a flat pool, continue cooking for another 3 to 5 minutes and test again.
Alternatively, use the wooden spoon test: dip the spoon into the jam and hold it horizontally. If the jam drips in single drops, it needs more cooking. If it falls in a thick, slow sheet that partly clings to the spoon, it is ready. Remove from heat immediately when the set test passes — overcooking beyond this point darkens the color, destroys aromatic compounds, and produces a caramelized rather than fresh mango flavor.
Step 5: Add Cardamom and Rest
If using cardamom, stir it in off the heat — this preserves its volatile aromatic oils, which are destroyed by prolonged heat exposure. Allow the jam to rest in the pan for 5 minutes before transferring — this brief resting period slightly thickens the jam further and prevents air bubbles from being trapped in the jar.
Step 6: Jarring and Storage
Pour the warm jam into sterilized, completely dry glass jars immediately, filling to within 1 cm of the rim. Seal tightly with an airtight lid. Allow to cool completely at room temperature before refrigerating — never refrigerate hot jars, as the temperature shock can crack glass and create condensation inside the lid.
Refrigerated in a clean, sealed jar with a dry spoon used every time, this homemade mango jam stays fresh and flavorful for 3 to 4 weeks. For longer preservation, follow standard canning protocol — properly heat-processed and vacuum-sealed jars will keep the jam shelf-stable for up to 12 months.
The Mango Jam You’ll Never Buy Again
The difference between a jar of commercial mango jam and one you make at home from ripe Alphonso mangoes is not subtle — it is categorical. Commercial jam tastes of sugar with a hint of mango. Homemade jam tastes of mango, full stop — the entire concentrated fragrance of the fruit, preserved in a spreadable form that holds its flavor and color for weeks. Spread it on fresh toast, swirl it into yogurt, use it as a filling for traditional Indian sweets, or gift it in a glass jar as something genuinely made with care. Once you taste the difference, the commercial alternative becomes impossible to justify.